My Favorite Sewing Tools
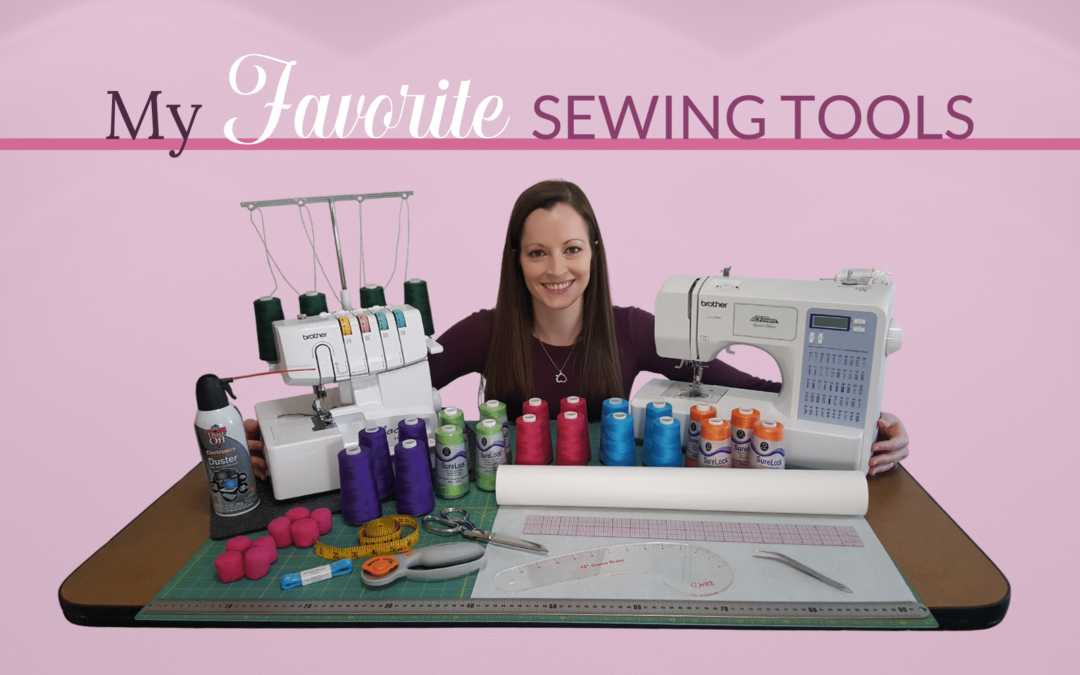
Today I’m going to tell you about my favorite sewing tools! The best way to learn about these tools, why I like them and how I use them is to take my free DIY Athletic Leotard Course. You’ll see in real time in videos exactly how I use them. However, I thought it would be nice to have a summary of all of them one place so that you don’t have to dig through all the videos to get the gist.
Heads up: some of the links are Amazon affiliate links. That means that if you choose to buy one of these items through the link, I’ll earn a small commission at no extra cost to you. This helps me to keep the DIY Athletic Leotard Course free! 😊 Hopefully it will be super obvious to you that I’m very honest about these tools. I don’t want you to buy them if you don’t need or want them. But if you do decide that you like them, like I do, I’m super grateful to anyone who chooses to purchase through my affiliate links!
Sewing Machines
Sergers are the bomb. 💣😎
Sergers are faster than sewing machines, and it’s so awesome to sew a seam and finish the seam in one easy sweep. I love that serger seams stretch.
I have been very satisfied with my Brother serger. I believe it’s still one of the cheapest sergers you can get—it was when I bought mine—and even though it’s cheap it still works really well. I will add that I still love it even after using heavy duty industrial sergers, which are much faster and obviously higher quality. Even so, this serger has not let me down and I’ve had few to no problems with it. It’s great.
I use my serger for the great majority of my sewing, especially when sewing leotards. It’s awesome to use with stretch fabrics. The only time I’d prefer to use a regular sewing machine instead is when I’m sewing weird angles that need a lot more detail and precision. For most seams, I think sergers are the best.
Though it looks a lot like the serger, the Brother coverstitch machine is a different animal. I will be honest in my opinion of it—it’s definitely not my favorite machine. While it is generally used for hemming (see the double-needle stitching on the hems of your t-shirts and the overlock stitching on the inside of the hems), I use it most for “coverstitch understitching” the elastic on the neckline and legholes of my leotards.

This machine does work, and depending on when and where you buy it, it’s a fairly good deal compared to other coverstitch machines. (In December 2020, when I’m writing this, it has gone up from $386 to $849 in the past month on Amazon!) I wouldn’t buy this machine for over $400. In fact, I personally wouldn’t buy this machine again, I’d buy a better one even if it’s more expensive.
If I wouldn’t buy it again, why do I include it on this page? Because, if you’re like me, you might be wanting to get started with the cheapest machines that work that you can get. So, depending on your situation, this might be the best machine for you right now (not if it’s over $400!). This machine does work, and you can get a good result with it, there are just some weird things about it for you to be aware of.
Probably the biggest, weirdest thing about this machine to get used to is how to pull it out of the machine after you’re done stitching, and without undoing your last few stitches. There can also be issues with skipped stitches and whatnot.
If you’re going to get this machine, you’ll want to join the facebook group to see videos and get help from people who use this machine all the time. There are those who love this machine and swear by it. They seem to think that if you’re having a problem with it, it’s user error and not the machine’s fault, haha. My personal opinion is that a machine shouldn’t have so many quirks and be so tricky to figure out. It seems that people who have used other coverstitch machines aren’t willing to put up with this one. I know there are better machines out there, so I really only recommend this machine if you’d otherwise be unable to get one due to the cost, and if you’re willing to learn tricks to make this machine behave. I’m sure I’ll update this page with a new coverstitch machine when I buy a new one.
This is my third Brother sewing machine, and I definitely love it and get along with it very well. These days I don’t use it as much, since I’m mostly sewing leotards and prefer to use my serger. But it is nice to have when I need to sew odd angles, like I mentioned—I use the triple straight stretch stitch and it works really well, although it is much slower (it’s literally two stitches forward and one stitch back).
Of course, leotards are not the only thing you can sew, and it’s been great to use for lots of things. One thing I love about this machine is the buttonhole foot. I’d used Berninas before, and while they’re technically higher quality machines, I like the buttonhole foot for this machine so much better. With some machines you have to calculate how big the buttonhole should be; however, with this machine, you literally take the button you’ll be using and put it in the foot. It adjusts around it and automatically makes a buttonhole the right size for that button. It’s awesome. 👌
Sewing Machine Accessories
This was something I didn’t know I needed until I started using my serger, and it stitched and vibrated so violently that it bounced up and down on the desk and rotated itself with every new seam! 😆
This sewing machine mat keeps my serger in place, makes it less noisy because the padding muffles the vibrating, and it also makes a nice extra pin cushion. Highly recommend.
These things are life savers. They’re awesome for cleaning out your machines, especially in hard-to-reach places. They save a lot of time—it’s so much faster to blow your machine out than to use little brushes to try to brush out all the little crevices. Of course, sometimes you might still need a brush in addition, but compressed air helps so much. And it keeps little pieces of thread from the last project from getting sewn into your new project of a different color. 👍
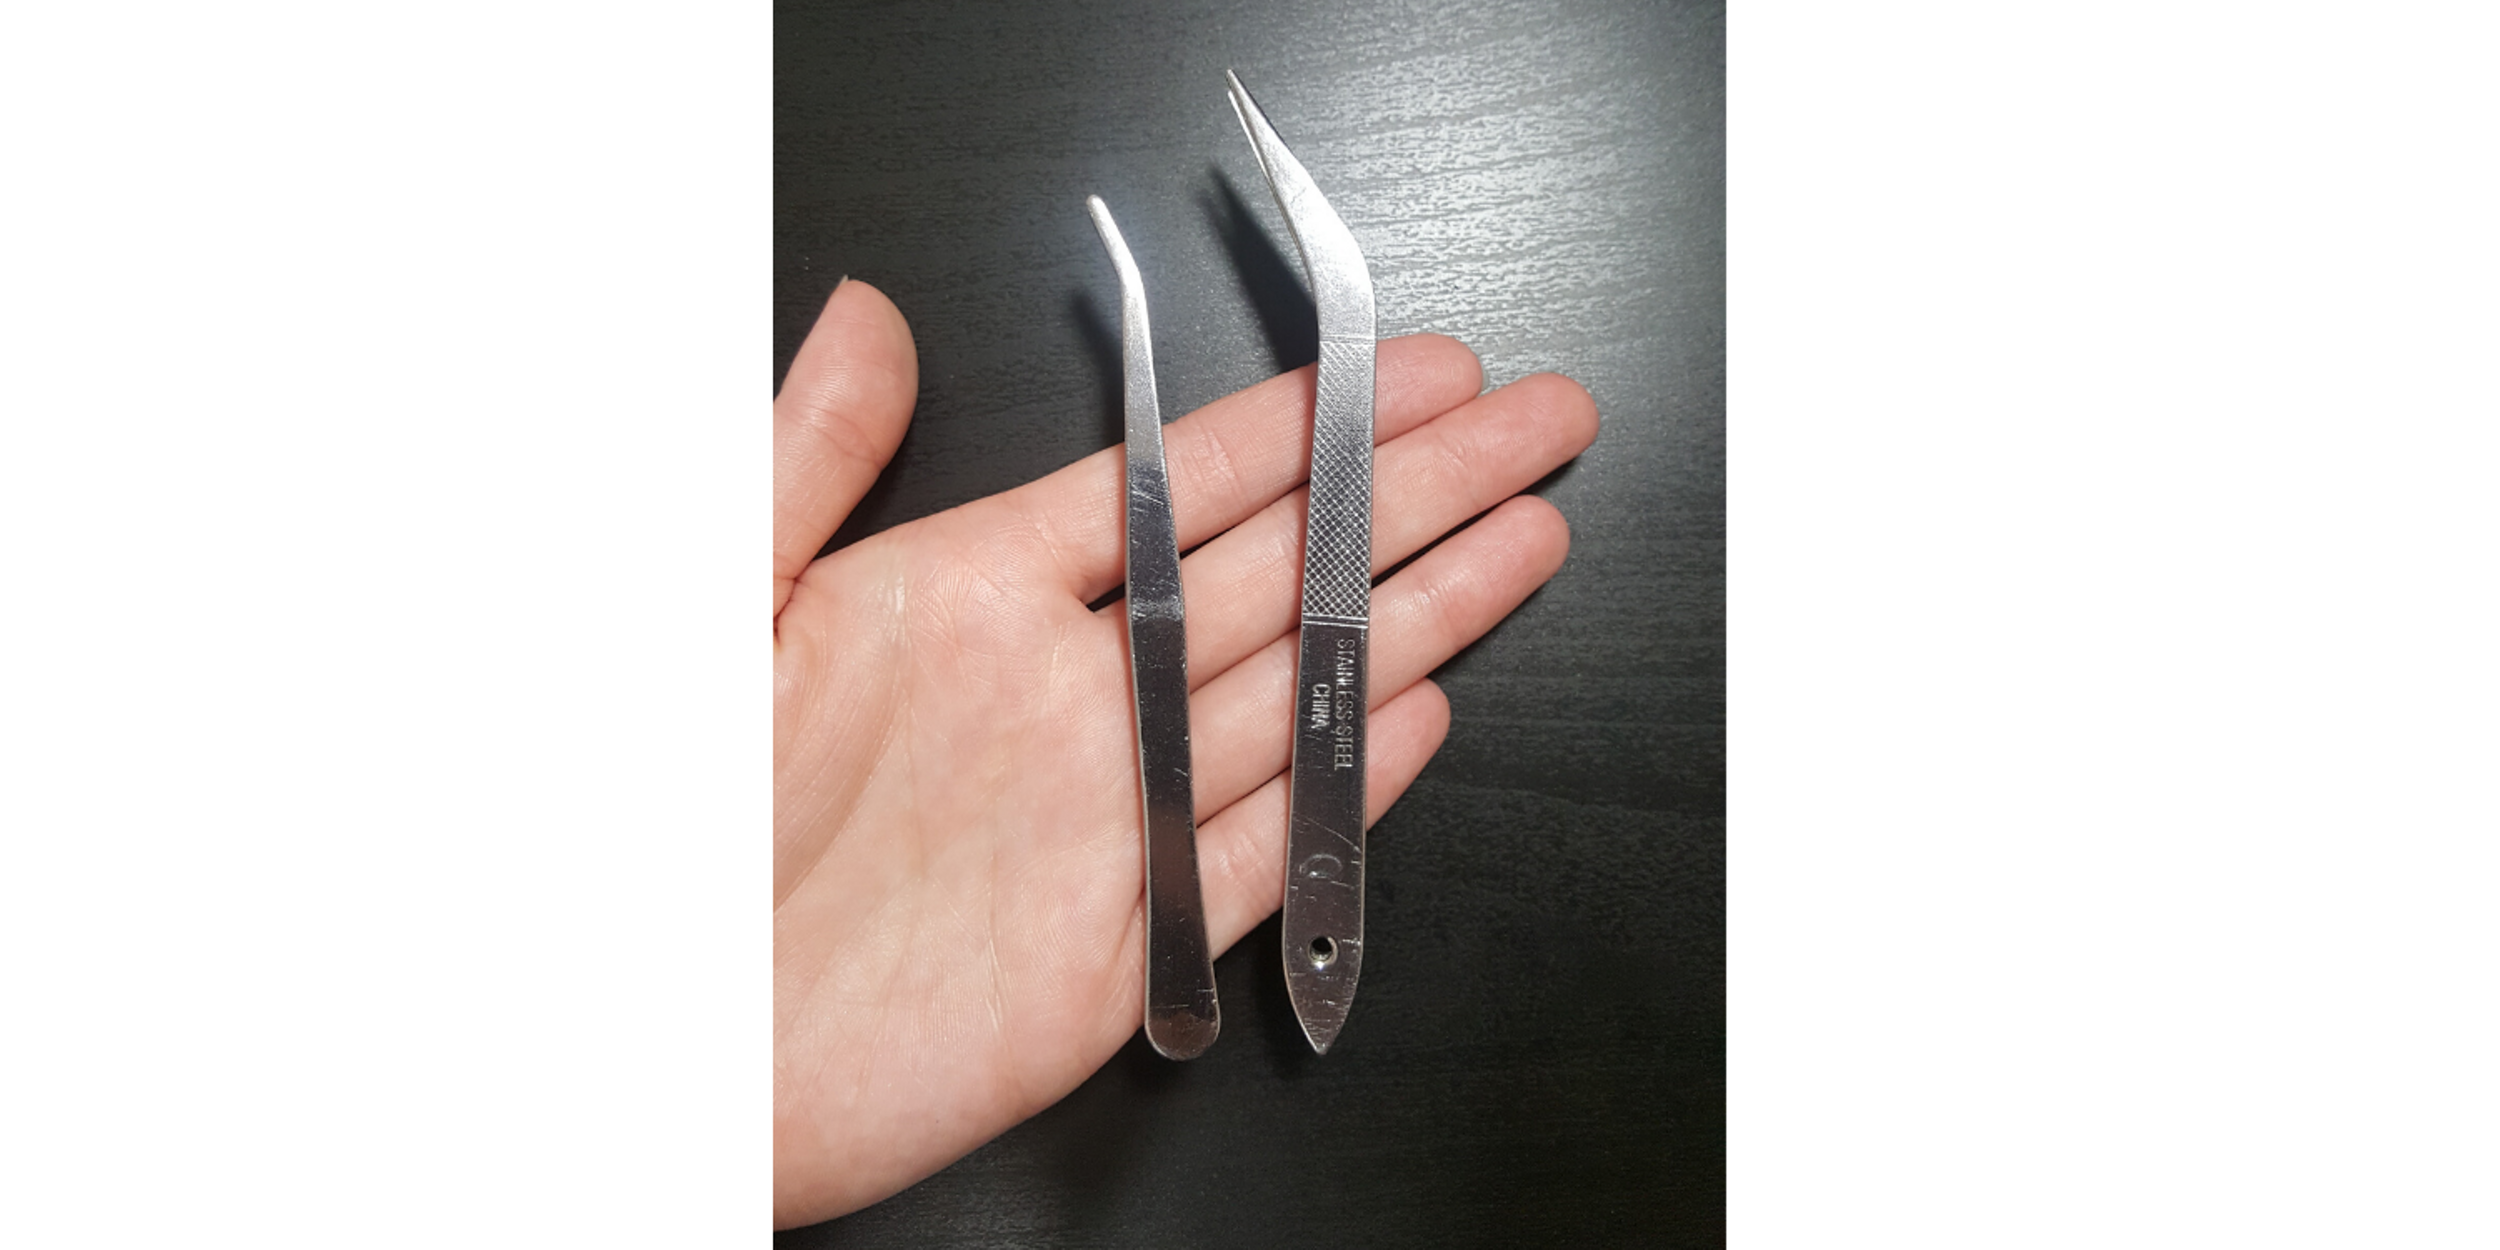
Tweezers are a great help for threading sergers, and the Brother 1034D comes with a pair of tweezers, but I think these ones are a lot better.

The ones that came with my machine are on the left, and the ones that I recommend are on the right. You can see there’s a pretty big difference in the shape—the tweezers I prefer have a much bigger hook shape on the end, and are much pointier than the others. I think this makes them a lot easier to use and to get to hard-to-reach-areas while threading your machine (or cleaning stuff out of the machine, if the compressed air isn’t enough).
Patternmaking Tools
Most of the time a 60″ measuring tape will do, but there are definitely times when it’s not long enough! I especially recommend longer measuring tapes to dancers who, unlike me, have a long torso. Of course, there are lots of other instances when a long measuring tape can be handy, and they’re nice to have around.
If you’re going to buy just one measuring tape, a 120″ one would be your safest bet. However, I like to have both. Most of the time 60″ is long enough, and I don’t want the extra length to have to roll up and put away. I have several 60″ measuring tapes . . . I like to buy them in fun, happy colors, hahaha.
Here’s another quick option if you know you’d like both lengths!
If you don’t already have a meter stick with both centimeters and inches, this is a good one. I use both centimeters and inches in sewing, and especially patternmaking, all the time (the metric system is so much better and mathematically easier to use, but I’m used to inches too, so . . . )
Also, this doesn’t really matter, but this meter stick has a little bit of a shimmer to it that I like, haha. It also has a hole in one side so you could hang it on a nail on the wall if you want.
This ruler is so essential to me. I actually have two. Clear grid rulers make it so much easier to get nice parallel lines when you need them. What I use this ruler for most often is making a 1/4″ seam allowance on my patterns. It saves so much time.
This is pretty much the same deal as the long and short measuring tapes—if you only want one, get the meter stick. However, lots of lines you need to draw do not need to be that long, and having a shorter ruler is much less cumbersome. Any simple ruler will do as long as it has centimeters and inches, but I like that this one is clear too.
It was really hard to find just the curved ruler I was looking for (the one in the bottom right of this image) that was a good price. The best deal I found included all these extra rulers too, haha. Whatever.
A curved ruler isn’t essential to have, but it’s definitely nice. I use it for help getting a smooth neckline curve or other curves in a new leotard design. It doesn’t always have quite the curve you’re looking for, but when it does it’s super handy not to have to freehand it.
I highly recommend medical paper for anyone who plans on making lots of patterns. You don’t necessarily need a 12 pack, but of course you get a better deal buying it in bulk, and for me, it’s worth it. I won’t have to buy more for a good long time.
Medical paper is great for patternmaking because it’s long, so you don’t have to tape a bunch of paper together, and it’s transparent enough to see through so you can trace when needed. I love this stuff.
Sewing Tools
My fabric weights are the pink ones—I call them my heavy pink marshmallows, haha. I think they’re cute and they make me happy. I bought two sets and I use them allll the time. I use them for holding pattern pieces down while I trace them, and to hold pattern pieces still on my fabric while I cut out (I use them instead of pins). It’s super nice to not have to worry that your patterns are slipping around and messing up your precision while you try to trace or cut them, haha.
I love my rotary mat. It’s another thing I use all the time. It’s great for measuring as well as cutting stuff out.
Note: This mat doesn’t like heat! Sadly, I learned that the hard way, haha. I put my warm laptop on it for a little bit and it warped it. It still works, but it’s annoying. So if you get this, don’t put your irons or laptops or anything warm on top of it, haha. Too bad I didn’t read the warning in the corner beforehand. . . 😜
If you’re going the weights-and-rotary-mat route, you’ll definitely want a rotary cutter. I have a Fiskars one like this and a Gingher one. They’re both great, though the Fiskars one is cheaper. I do have to tighten it often, though, and I don’t think that happens as much with the Gingher rotary cutter. Either way, they both work very well and definitely make my life easier.
If you’re not interested in cutting out patterns and fabrics with weights and a rotary cutter, scissors and pins definitely work! I think you have to be a little more careful not to move your pattern around too much while cutting if you use scissors, though. In any case, Gingher scissors are reliable, high-quality scissors. I have two pairs and love them.
I like colorful, happy pins, haha. They cheer me up. You can get pins in lots of different colors, of course, so get them in a color that makes you happy. 😉
These days I don’t use nearly as many pins as I used to while sewing, but they’re still an essential thing to have around, especially for matching up crucial areas of seams or matching unlike curves like princess seams.
Leotard Fabrics and Notions
You’ll see more information and recommendations in my DIY Athletic Leotard Course, but I generally recommend the lycras in the performance section of JoAnn’s (assuming you have access to a JoAnn’s). Look for fabric that is about 80-90% polyester or nylon, and 10-20% spandex. For your outside fabric, you want 4-way stretch fabric (2-way stretch is not good enough!!), and you want it to be as stretchy as or stretchier than your lining.
Especially if you’re making your first couple leotards, I’d recommend staying away from sparkly or patterned fabrics. To make it as easy as possible, I’d stick with solid colors you like. If you’re using multiple solid colors, your safest bet is to make sure they’re all the same fabric except for the color. If you use several different types of stretchy fabrics, you might get some unexpected surprises in the ways they behave all together, haha. Keep it simple. 😉
I recommend using JoAnn’s stretchy lining as sort of a constant so that you know how it behaves and you’ll only have to compare the outside fabric to it with each new leotard.
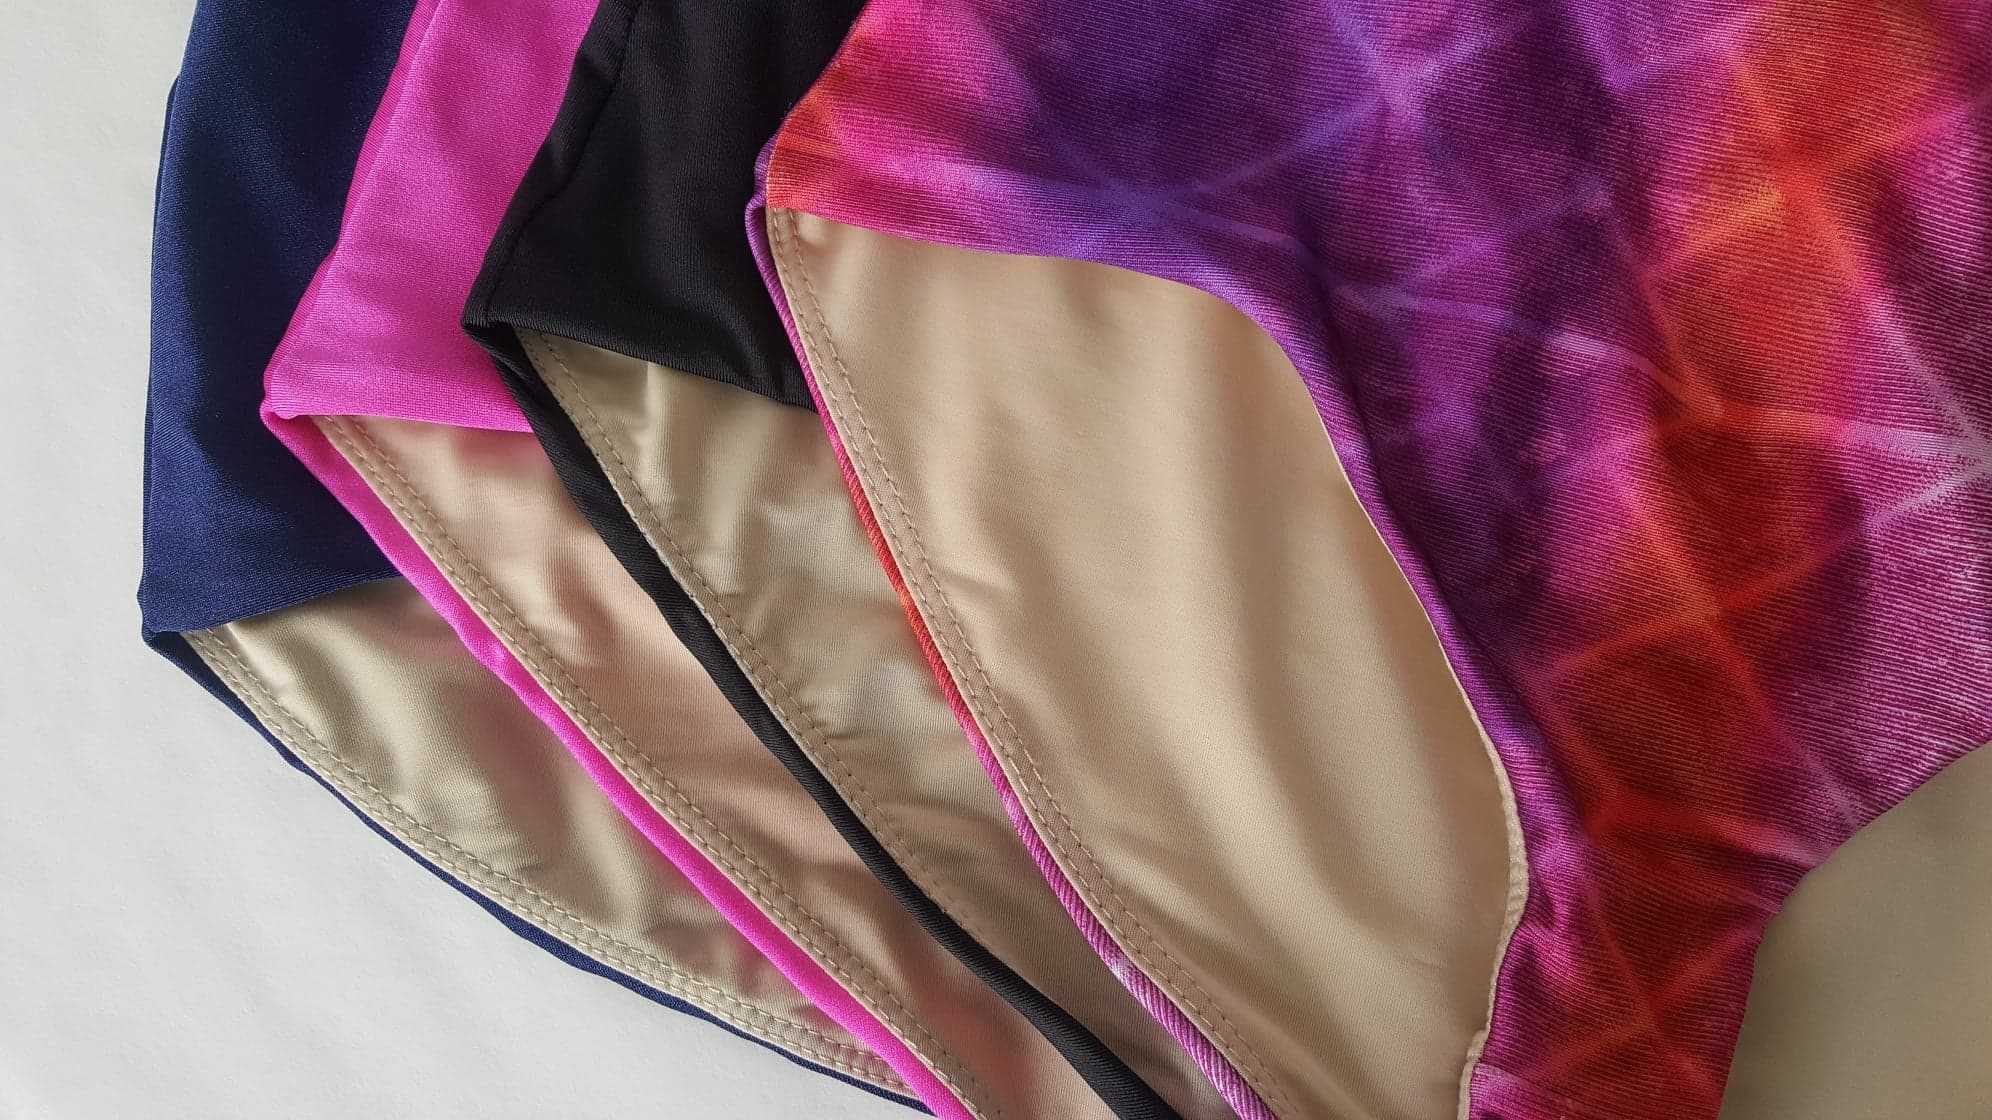
JoAnn’s has lining in white, black, and “nude” (caucasian nude, no other shades so far, unfortunately).
This pack of 1/4″ elastic will most likely be enough for one leotard. You can also buy it in bulk to save money!
As a side note, I wouldn’t go thinner than 1/4″, because thinner elastic probably won’t be strong enough. I also wouldn’t go any thicker, because it probably would be uncomfortable and it might look funny! Haha. 1/4″ is a great size for leotard necklines and legholes.
If you’re using sergers and coverstitch machines like me, you’ll definitely need overlock thread. JoAnn’s has a pretty good selection of basic colors, and because you rarely see the thread on a Tia’s Leos leotard, a close color is good enough.
For your coverstitch machine, you’ll want 3 spools of thread that matches your lining. For your serger, you’ll need 4 spools that match your outside fabric.
Maxi-Lock Stretch Thread is fancy and nice, but not essential. It’s soft and fuzzy, and will make your serged seams softer as a result. You’d want to use them in the lower looper threads of your serger. I would recommend this for people with sensitive skin, if the one seam across the torso is irritating. Or, if you just want to pamper yourself with soft seams because you’re worth it, go for it!! Haha.
Do be aware that they are a little trickier to thread, since they’re slightly thicker and fuzzier, and you may find that they behave a little differently. But they’re great once you get used to them.
That’s it for now! I imagine that as time goes on I’ll find more awesome sewing tools, and I’ll be sure to add them to this list! I hope this was helpful. Feel free to send these links to family members and friends as part of your wish lists! 😉
And don’t forget that the best way to see these tools in action is the DIY Athletic Leotard Course. If you haven’t signed up yet, you can do that right here, right now, for free!


